
Those of you who have found your way here via various forums may have heard me repeating 'when I build my DIY cage' from me over and over again.
Well finally last month I embarked on starting the actual cage.
Having been extremely pleased with my efforts in making the cabinet for the existing (and future) cage to stand on I was fairly confident in my abilities to crack on with the next stage.
So it was time to get down to B&Q and top up on bits and pieces.
Again I should take a moment to praise my much abused little VW Polo.

So with the sun shining and the afternoon stretching out ahead of me I got myself prepared with all the tools I needed.
Please note the beer was purely to aid the creative process and was consumed responsibly.

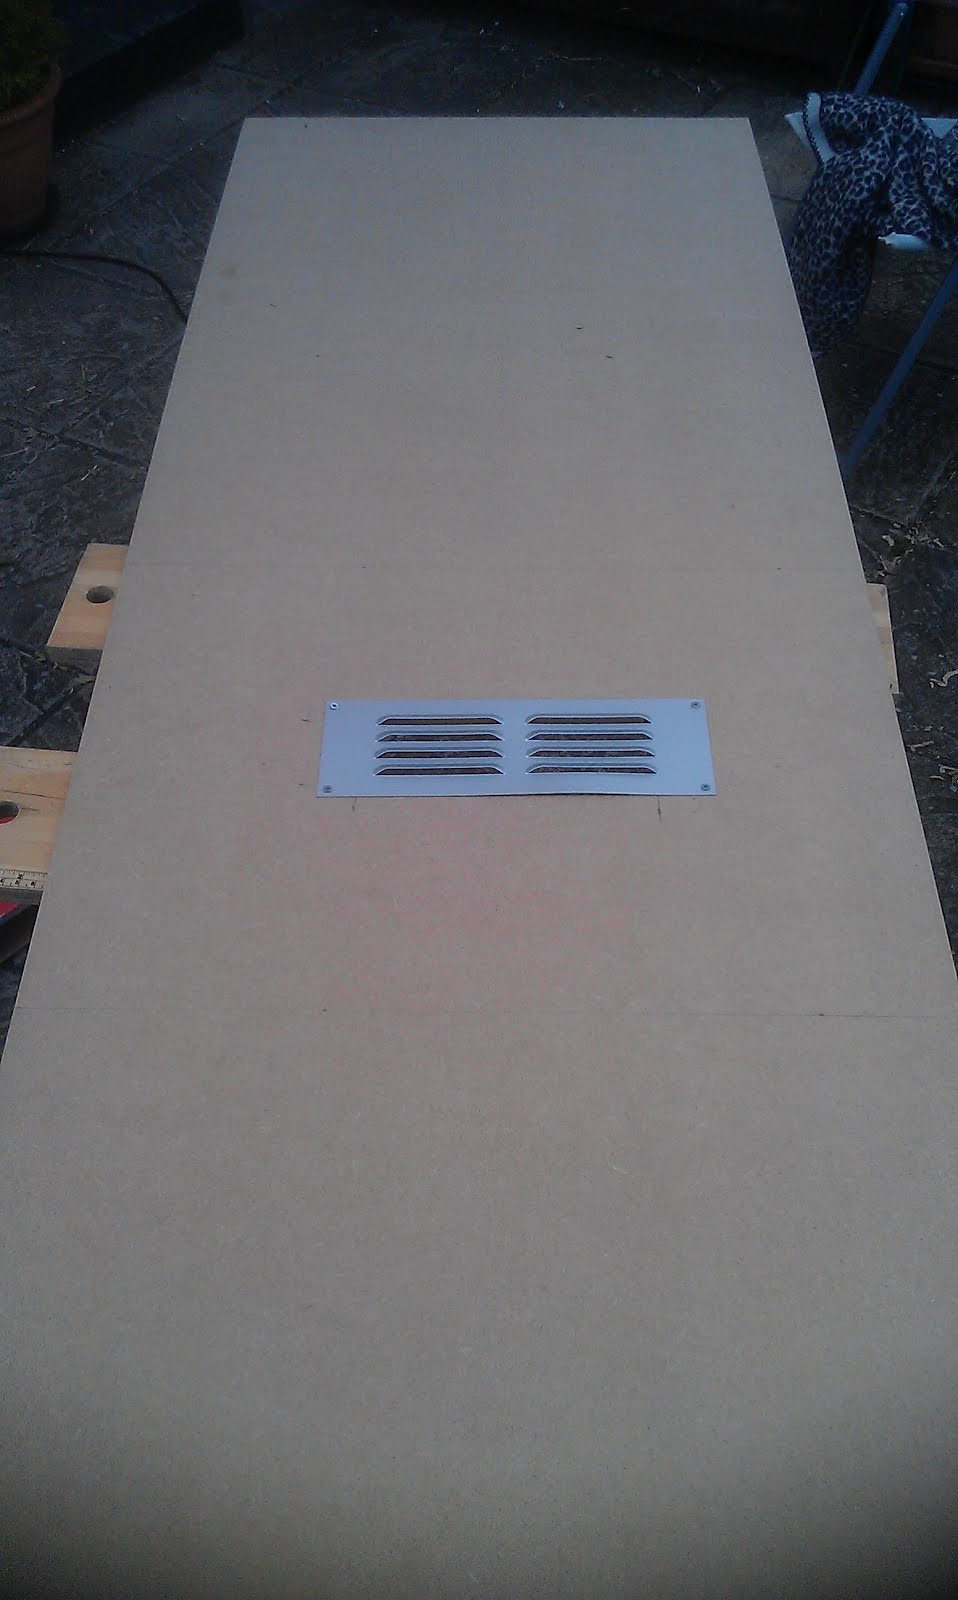
The big board for the back of the cage - a sizeable 160cm H x 95cm W was already cut thanks to B&Qs free cutting service.
Although I should point out the car journey home for that trip was interesting to say the least.
The next step was to ensure the side pieces (also cut by B&Q to ensure crisp straight lines rather than some idiot with a jigsaw drinking beer in the afternoon sun) which measured 160cm H x 60cm W were doctored for use.
Given that the new cage will be fronted by perspex/glass it is essential to provide ventilation.
Whilst the top will have mesh this is a sizable building and would benefit from addition airflow through the lower levels so I added vents in between the first and second floor.
These are metal vents for the inside.
Outside I can add plastic ones as the build progresses to make it presentable to the rest of the room.
Once the vents were fixed it was time to create the base.
Due to B&Q having inconsistent stocks of MDF I ended up picking up two sheets of 9mm rather than the 12mm that had provided the material for the base box so I took the decision to create a support bracket structure inside the box.
This will perform two functions:
1. Keep the box sturdy (it is massive after all)
2. Give the Goos something to chew - they are likely (hopefully?) to be attracted to the pine more than the MDF sot they can chew this wood to the point where it forms a curved infill for the corners and this render them stronger... in theory...

The next step was to attach the sides using the pine brackets.
This was easier said than done!

Then it was a case of fitting the backboard to it.
I tried to be clever and balance it on top and secure with brackets.
I failed and nearly removed my knuckle at the same time so opted for a safer way.

Once this was done it was time to strengthen.

With storm clouds looming we carefully shuffled the box into the newly decorated lounge.

It then promptly rained for two weeks solid apart from the day Bex and I were victims of all hangovers due to over indulging on cocktails for her birthday and with no garage I was forced to halt proceedings and find alternative ways of amusing myself including trying to give a sense of perspective.

No comments:
Post a Comment